
Lawn
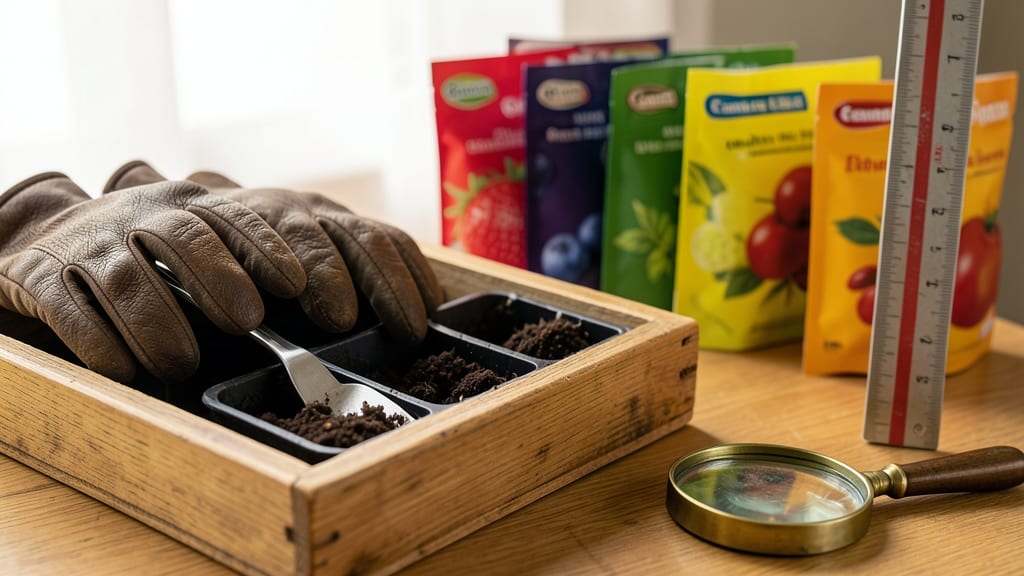
Fruit seed packets unlock a treasure chest of homegrown flavors you’ll never find in stores. 🌱 I’ve saved seeds from apples, peaches, and tomatoes for years—turning grocery scraps into next year’s harvest with just a little patience.
The key is knowing which fruits produce viable seeds and how to break dormancy for reliable germination.
Start with fresh, organic fruit—seeds from store-bought varieties often fail. After scooping out pulp and cleaning seeds, let them dry for 3-5 days before storing in an airtight container.
Tropical fruits like mangoes need a warm, humid start, while temperate seeds (apples, pears) thrive in cool, moist conditions. My peach seeds sprouted within 10 days of soaking!
You’ll end up with seedlings that outperform nursery plants—hardier, disease-resistant, and perfectly adapted to your climate. The first flush of true leaves means it’s time to transplant into pots, where they’ll grow strong enough for the garden.
Best of all, you’re closing the loop on food waste while creating heirloom varieties.
Works for any fruit with a pit or core, from citrus to berries. Here’s how to troubleshoot dormancy issues and maximize your first harvest—no green thumb required!
📚 In This Guide
- What you need
- Instructions
- Tips and common mistakes
- Wrapping up and next steps
What you need
- ● Fruit seed packets: Choose 3–5 varieties (e.g., tomatoes, peppers, or citrus) based on your climate zone.
- ● Seed-starting mix: 1–2 bags (sterile, peat-free, and well-draining—avoid regular garden soil).
- ● Containers: Small pots (4–6 inches deep) or seed trays with cells (100–200 cells per tray).
- ○ Biodegradable pots (optional, for easy transplanting).
- ● Grow lights or sunny windowsill: 12–16 hours of light daily (LED grow lights work best).
- ● Spray bottle: For gentle watering (avoid overhead streams).
- ● Labels & markers: To track seed varieties and planting dates.
- ● Fertilizer: A balanced, water-soluble fertilizer (e.g., 10-10-10) for seedlings.
- ● Humidity dome or plastic wrap to retain moisture.
- ● Heating mat (for slower-germinating seeds like citrus).
- ● pH test kit (ideal soil pH: 6.0–7.0 for most fruits).
- ● Compost or worm castings for nutrient-rich soil amendments.
- ● Pruning shears (for trimming leggy seedlings).
Step-by-Step instructions for harvesting and storing fruit seeds
Here's how I turn seasonal produce into next year's harvest—no waste, just potential.
🍎 Step 1: Select and Prepare Ripe Fruit
Pick fruits that are fully ripe but not overripe—think plums that yield slightly to gentle pressure or tomatoes that smell sweet at the stem. I avoid bruised spots since they can harbor mold that ruins seeds. Wash the fruit gently with water and a soft brush to remove any dirt or wax coatings that might inhibit germination.
Cut the fruit open carefully, using a sharp knife to avoid squashing seeds. For citrus fruits, I scoop out the pulp and seeds directly into a bowl. For larger fruits like peaches or plums, I scoop the flesh and seeds into a container, leaving the pit intact. The goal is to preserve seed viability, so handle them with care—crushed seeds won't sprout.
💧 Step 2: Extract and Clean the Seeds
Place the seeds and flesh into a bowl of lukewarm water (around 75°F) and let them soak for 3-5 days. This process, called fermentation, helps separate viable seeds from the fruit pulp. Stir the mixture once daily to keep the water moving—this prevents mold from forming on the surface.
After soaking, drain the water and rinse the seeds gently under running water. You'll notice some seeds float to the top—discard these as they're likely non-viable. The good seeds will sink to the bottom. Spread them out on a clean paper towel to dry completely. This can take 1-3 days, depending on humidity. Once dry, they should feel firm and papery to the touch.
⏰ Step 3: Store Seeds for Long-Term Viability
Place the dried seeds in a small envelope or airtight container. I label each with the fruit type and the date—this helps track how long they've been stored. Store them in a cool, dark place like a pantry or refrigerator. Most fruit seeds remain viable for 1-5 years, though tropical fruits often lose viability faster.
For extra-long storage, place the sealed container in the freezer. The cold slows down the aging process and can extend seed viability for up to 10 years in some cases. Just be sure to thaw seeds slowly before planting—sudden temperature changes can shock them and reduce germination rates.
🌱 Step 4: Test Germination Before Planting
Before committing to a full garden bed, test a few seeds to ensure they're still viable. Moisten a paper towel with water, place 5-10 seeds between two towels, and fold them into a loose packet. Keep the packet in a warm, dark place (like on top of the fridge) and check daily for sprouts. You should see signs of germination within 7-14 days.
If fewer than half of the seeds sprout, consider storing the remaining seeds for another year or two—they might just need more time. If none sprout, it's time to start fresh with new seeds. This simple test saves you from planting dozens of non-viable seeds and wasting garden space.
Tips & tricks for perfect fruit seed packets
Turn your seasonal fruit scraps into next year's garden gold with these insider tricks.
Temperature Matters: That lukewarm water at 75°F is perfect for fermentation—too hot and you risk killing seeds, too cold and the process slows dramatically. I use a thermometer to check my tap water, especially in winter when it often runs cooler. If you don't have one, fill a bowl with water and let it sit for 10 minutes before using it—room temperature water usually hits that sweet spot.
Here's What I Learned: In Step 1, don't skip washing the fruit—even organic produce can have wax coatings that prevent germination. I use a soft toothbrush to gently scrub around stems where dirt often collects. For particularly waxy fruits like apples, a quick vinegar rinse (1 part white vinegar to 3 parts water) helps break down the coating without damaging seeds. Rinse thoroughly afterward!
Storage Wisdom: When storing seeds long-term, I add a small silica gel packet to the container to absorb any moisture that might develop. These are the same packets you find in shoe boxes—just make sure they're food-safe. For extra protection, I double-bag seeds in zip-top bags before placing them in the freezer. This prevents freezer burn and keeps seeds dry, which is crucial for maintaining viability over those 10 years.
Make-Ahead Move: You can actually start the fermentation process up to 7 days early if you're planning ahead. Just keep the seeds submerged in lukewarm water and stir daily. After 7 days, drain and rinse as usual—this gives you a head start on drying time. I've found this especially helpful when dealing with large batches of seeds from a bountiful harvest.
Pro Tips for Fruit Seed Packets
- Turn your seasonal fruit scraps into next year's garden gold with these insider tricks.
- Temperature Matters: That lukewarm water at 75°F is perfect for fermentation—too hot and you risk killing seeds, too ...
- Here's What I Learned: In Step 1, don't skip washing the fruit—even organic produce can have wax coatings that preven...
Frequently asked questions
Got questions about fruit seed packets?
You’re not alone! Here are some of the most common queries—and their easy, actionable answers—to help you grow your own fruit trees from seed with confidence.
How long does it take for fruit seeds to germinate?
Germination time varies by fruit type, but most seeds sprout within 2–6 weeks under ideal conditions (warmth, moisture, and indirect light). Citrus seeds often germinate faster (2–4 weeks), while stone fruits like peaches may take longer. Pro tip: Soak seeds overnight before planting to speed things up!
When is the best time to plant fruit seeds?
The best time depends on your climate, but spring or early summer is ideal for most seeds. Start indoors 6–8 weeks before the last frost for a head start. Tropical fruits (like mangoes or avocados) can be planted year-round in warm zones. Troubleshooting: If seeds sprout too early, transplant seedlings carefully to avoid root damage.
Can I use seeds from store-bought fruit?
Yes! Many store-bought fruits (like apples, oranges, or berries) will grow, but some varieties may not be true to the parent plant. Heirloom or organic seeds often yield more predictable results. For guaranteed success, opt for certified organic seed packets from reputable sellers.
What if my seeds won’t germinate?
Don’t panic—try these fixes:
- Check moisture: Keep soil damp (not soggy) and use a humidity dome if needed.
- Test viability: Fill a glass with water; floaters are likely dead, while sinkers may still sprout.
- Adjust temperature: Some seeds need warmth (like a heat mat) to break dormancy.
- Try scarification: Lightly sand or nick hard seed coats (e.g., stone fruits) to help water penetrate.
How do I store leftover fruit seed packets?
Store seeds in a cool, dry place (like a sealed container in the fridge) for up to 1–2 years. For longer storage, dry seeds completely (3–5 days at room temp) and keep them in an airtight bag with a desiccant packet to prevent mold. Label packets with the fruit type and date!
Wrapping up and next steps
Growing your own fruit from seed packets isn’t just a rewarding hobby—it’s a zero-waste way to enjoy fresh produce year-round! 🌱 Whether you're preserving heirloom varieties or experimenting with new flavors, these packets empower you to take control of your harvest.
Start small, stay consistent, and soon you’ll be savoring the fruits of your labor—literally.
Ready to dive in? Pick your favorite seeds, gather your tools, and plant with confidence! 🌟 Your garden (and the planet) will thank you.