
Lawn
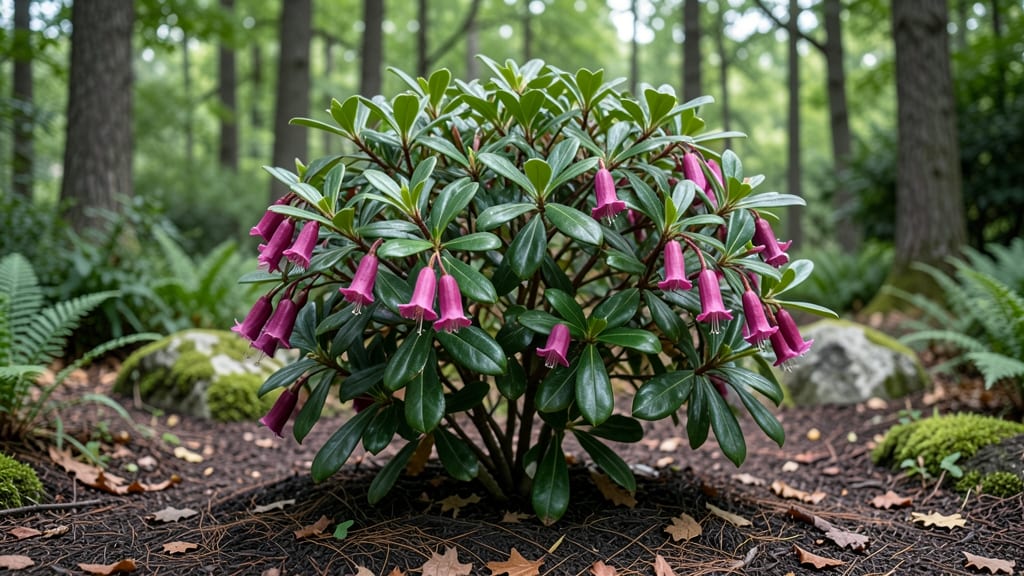
Mountain laurel seed pods hold the key to growing these stunning shrubs from scratch. 🌿 I’ve spent years perfecting a twist-free method to extract seeds without damaging them—because the wrong technique means wasted pods and no new plants.
The secret lies in timing, patience, and knowing exactly when those pods are ready to open.
First, you’ll need a few simple tools: sharp pruners, a bowl to catch seeds, and a soft brush for cleaning. The pods must be fully dry and brown before harvesting—green or firm pods won’t yield viable seeds.
Once ripe, gently twist the pod open (no force!) to release the tiny, papery seeds inside. These seeds are tiny but mighty, and handling them carefully is the first step to success.
Germination isn’t instant—mountain laurel seeds need a cold, moist period to break dormancy. After cleaning, store them in a sealed bag in the fridge for 60-90 days before planting. Once sown, keep the soil consistently moist and expect seedlings to appear in 3-6 months.
Patience is key here; these shrubs grow slowly but reward you with decades of blooms.
Watch for common pitfalls like overwatering (which causes rot) or planting too deep (seeds need light to germinate). With the right care, you’ll end up with hardy mountain laurel seedlings ready to thrive in your garden. Here’s how to make it work without the guesswork.
📚 In This Guide
- What you need
- Instructions
- Tips and common mistakes
- Wrapping up and next steps
What you need
- ● Mountain laurel seed pods: Mature, dried pods (turning brown and splitting open naturally). Aim for 10–20 pods per batch for viable seeds.
- ● Pro tip: Harvest pods in late fall or winter (after frost) for best germination rates! ❄️🌱
- ● Safety gear: Thick gardening gloves (mountain laurel leaves/toxins can irritate skin).
- ● Long sleeves/pants (protection from thorns and sap).
- ● Harvesting tools: Pruning shears or sharp scissors (for clean cuts).
- ● Small bucket or breathable mesh bag (to collect pods without crushing them).
- ● Processing supplies: Paper towels or newspaper (for drying seeds).
- ● Small fan or well-ventilated area (to speed up drying).
- ● Air-tight storage container (glass jars or labeled paper envelopes).
- ● Hand lens or magnifying glass (to inspect seed viability).
- ● Labeling tags + permanent marker (track harvest dates/varieties).
- ● Sieve or fine mesh screen (for separating seeds from chaff).
- ● Planting trays + seed-starting mix (if propagating immediately).
Step-by-step guide to harvesting mountain laurel seed pods
Here's how to collect healthy seeds without damaging the pods—no twisting required.
🌿 Step 1: Identify and Locate Mature Seed Pods
Look for mountain laurel pods that have turned from green to a dry, papery brown color. These pods are typically 1-2 inches long and will feel slightly brittle when gently squeezed. I always check in late summer or early fall when most pods have matured but haven't yet split open.
Harvest pods from the lower branches first, as they tend to ripen earlier. Avoid pods that are still green or have started to split open naturally—they won't contain viable seeds. If you see any signs of mold or insect damage, skip those pods entirely.
✂️ Step 2: Gather Pods Gently Without Twisting
Use clean, sharp pruning shears to snip the pods from the branch, leaving about ½ inch of stem attached. Twisting can damage the seed pods or the plant itself. I like to place a clean cloth or paper bag under the pods as I cut them to catch any seeds that might fall prematurely.
Work on a dry day when the pods are firm. If you harvest after rain, the pods may be too damp and prone to splitting. Collect pods in a breathable container like a paper bag or mesh sack to prevent moisture buildup, which can cause mold.
🪴 Step 3: Dry and Prepare Pods for Seed Extraction
Spread the harvested pods in a single layer on a clean, dry surface in a well-ventilated area. I use a wire mesh screen or a piece of window screen to allow airflow on all sides. Keep them out of direct sunlight, which can cause the pods to dry too quickly and crack open prematurely.
Let the pods dry for 1-2 weeks until they feel completely dry and brittle to the touch. You'll know they're ready when they rattle slightly when shaken. If any pods start to split open before this time, remove them immediately to prevent seed loss.
🌱 Step 4: Extract and Store the Seeds
Once the pods are fully dry, gently crush them between your fingers or use a small hammer to break them open. Be careful not to pulverize the seeds—just enough to release them from the pod. I like to do this over a clean sheet of paper to catch all the seeds and any chaff.
Separate the seeds from the debris by winnowing them in a light breeze or using a fine mesh strainer. Store the clean seeds in a sealed envelope or small container in a cool, dry place. Mountain laurel seeds can remain viable for several years if stored properly.
⏰ Step 5: Plant or Stratify Seeds for Germination
Mountain laurel seeds require a cold stratification period to germinate. Place the seeds in a moist paper towel or sand, then refrigerate them for 3-4 months at 35-40°F. This mimics the natural winter period the seeds would experience in the wild.
After stratification, sow the seeds in well-draining soil and keep them moist but not soggy. Germination can take several weeks to months, so be patient. Plant the seedlings outdoors in a location with partial shade, as mountain laurels prefer dappled sunlight.
Tips & tricks for perfect mountain laurel seed pod harvesting
Here's what I learned the hard way after struggling with seed loss and damaged pods.
Timing is Everything: Harvest pods in late summer or early fall when they're brown but haven't split open yet. I check pods every few days during this window—waiting too long means they'll crack open naturally and release seeds prematurely. The 1-2 inch size range is ideal; smaller pods are immature, while larger ones may already be splitting.
Tool Tip: Use clean, sharp pruning shears instead of scissors or your hands. The ½ inch of stem you leave attached helps protect the pod during drying. I've ruined pods by twisting them off—always cut cleanly! Place a paper bag under the pods as you cut to catch any seeds that might fall during the process.
Drying Strategy: Spread pods in a single layer on window screen for 1-2 weeks in a well-ventilated area. I place them near a fan to ensure even airflow—this prevents uneven drying that could cause some pods to split while others stay too moist. Keep them out of direct sunlight to avoid cracking. You'll know they're ready when they rattle slightly when shaken.
Extraction Technique: When crushing pods, use a small hammer rather than your fingers for larger batches. I place a clean sheet of paper underneath to catch seeds and chaff. The goal is to release seeds without pulverizing them—think of it like gently tapping a piñata rather than smashing it with a sledgehammer.
Pro Tips for Seed Pods Mountain Laurel
- Here's what I learned the hard way after struggling with seed loss and damaged pods.
- Timing is Everything: Harvest pods in late summer or early fall when they're brown but haven't split open yet. I chec...
- Tool Tip: Use clean, sharp pruning shears instead of scissors or your hands. The ½ inch of stem you leave attached he...
Frequently asked questions
Got questions about harvesting mountain laurel seed pods?
You’re not alone! Here are answers to the most common queries—from timing to troubleshooting—to help you save seeds like a pro.
When is the best time to harvest mountain laurel seed pods?
Harvest seed pods when they’re dry and brown but before they split open (usually late summer to early fall). Overripe pods release seeds prematurely, reducing viability. Check pods weekly—they’ll twist open naturally when ready, so act fast!
How do I know if the seeds inside are still viable?
Viable seeds are plump, firm, and dark brown inside the pod. Float-test them: Drop seeds in water—sinkers are viable, while floaters are likely empty. Store seeds in a cool, dry place (like a paper envelope) for up to 6 months for best germination.
What if my seed pods twist open too soon?
If pods split early, harvest them immediately and extract seeds by hand. Place pods in a paper bag and shake gently to release seeds. Avoid plastic bags—condensation can cause mold. If seeds are already scattered, mark the area and collect fallen seeds from the ground.
Can I use mountain laurel seed pods for anything other than planting?
Dried pods make unique dried arrangements or rustic decorations. Their twisted shape adds texture to wreaths or centerpieces. Just ensure pods are completely dry (no moisture) to prevent mold. Avoid using them for crafts if you plan to replant seeds later.
Are mountain laurel seeds toxic? Should I handle them carefully?
Yes, all parts of mountain laurel (including seeds) are toxic if ingested. Wear gloves when handling pods/seeds to avoid skin irritation. Keep seeds away from pets/kids. While harvesting, wash hands thoroughly with soap and water afterward.
Wrapping up and next steps
Mountain laurel seed pods may seem tricky to crack, but with the right techniques, you can harvest viable seeds without the frustration of stubborn twists. Whether you're a gardening enthusiast or a nature lover, these tips ensure a smooth process—no tools required! 🌿
Ready to grow your own mountain laurel? Start by reviewing your supplies and practicing on a few pods before tackling a full harvest. Happy planting—and may your garden bloom with beauty! 🌸