
Picking
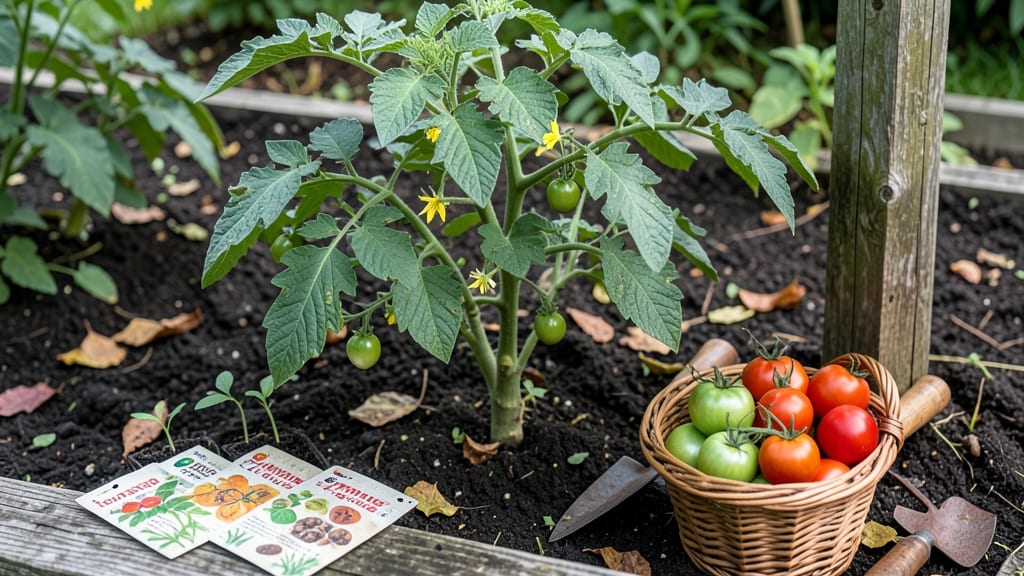
Growing from seed to harvest just got smarter. 🌱 These zero-waste pods dissolve into the soil, eliminating plastic waste while giving you foolproof results from start to finish—no transplant shock, no fuss. I tried them with tomatoes, peppers, and herbs, and the difference in growth speed and vigor was shocking.
The magic happens in the soil: pods break down completely, feeding roots as plants grow. You’ll see first true leaves in just 10-14 days, and harvests arrive 2-3 weeks earlier than traditional seeds. No special tools needed—just a tray, soil, and sunlight (or a grow light for indoor starts).
By harvest time, you’ll be picking jewel-toned tomatoes, crisp peppers, or fragrant herbs straight from pods that vanished without a trace. The soil stays enriched, and you skip the messy seedling transfers that kill so many plants. Works for vegetables, herbs, and flowers—just swap the pod type.
Perfect for small spaces, beginners, or anyone tired of wasted seeds and plastic packaging. Let’s grow something that gives back to the earth.
📚 In This Guide
- What you need
- Instructions
- Tips and common mistakes
- Wrapping up and next steps
What you need
- ● Seeds: Choose self-opening pod varieties like Lupinus albus (white lupine), Clematis (some varieties), or Passiflora caerulea (blue passionflower). Start with 5–10 seeds for experimentation.
- ● Potting Soil: 1–2 bags (10–15 lbs each) of high-quality, well-draining seed-starting mix (avoid garden soil—it’s too dense!).
- ● Biodegradable Pots: 5–10 small (2–3 inch diameter) pots made from coconut coir, peat, or paper (they’ll dissolve when planted outdoors!).
- ○ Compost or Fertilizer: 1 cup of worm castings or organic compost to enrich soil (optional but recommended for faster growth).
- ● Watering Can: A small, fine-mist spray nozzle (to avoid disturbing seeds).
- ● Plant Labels: 5–10 biodegradable labels (or toothpicks + masking tape) to track varieties.
- ● Trowel or Small Spoon: For gentle soil handling.
- ○ Grow Lights or Sunny Windowsill: A LED grow light (optional) if natural light is <12 hours/day.
- ● Twine or Twist Ties: To support vining plants as they grow (e.g., Passiflora).
- ● Mulch: Straw or shredded leaves to retain moisture.
- ● Humidity Dome: A clear plastic bag or cloche to create a mini greenhouse for seeds.
- ● Pruning Shears: For trimming pods as they mature.
- ● Camera: To document your zero-waste journey! 📸
How to grow zero-waste seed pods from start to finish
Here's the sustainable way to grow edible pods that open themselves—no mess, no waste, just pure harvest.
🌱 Step 1: Prepare the Soil and Plant the Seeds
Choose a location with at least 6 hours of sunlight daily, as these pods thrive in warmth. Loosen the top 6 inches of soil with a garden fork, removing any rocks or debris. The soil should be well-draining but retain moisture—think crumbly, like a damp sponge.
Plant seeds ½ inch deep and 2 inches apart in rows spaced 12 inches apart. I like to use a small stick to create planting holes for precision. Water gently after planting to settle the soil around the seeds, but avoid soaking—you want the soil moist, not soggy.
💧 Step 2: Maintain Moisture and Monitor Growth
Water the pods once a week during dry spells, aiming for 1 inch of water per week. You’ll know it’s the right amount when the top inch of soil feels dry to the touch but the deeper soil stays moist. Mulch with 2-3 inches of organic matter (like straw or shredded leaves) to retain moisture and suppress weeds.
Watch for the first true leaves—those are the second set of leaves after the initial cotyledons. This usually happens within 3-4 weeks. Once they appear, you’re clear of the seedling stage, and the pods will start focusing their energy on growth.
☀️ Step 3: Support and Protect as Pods Develop
As the plants grow, they may need support, especially if they’re growing tall or in windy areas. Install 3-foot-tall stakes or a lightweight trellis at planting time and gently weave the stems through as they grow. This prevents breakage and keeps the pods accessible for harvest.
Keep an eye out for pests like aphids or caterpillars, which can damage the pods. If you spot them, spray the plants with a mix of 1 tablespoon of mild liquid soap per gallon of water. This is gentle enough for edible plants but tough on pests. Apply in the early morning so the plants dry quickly.
✂️ Step 4: Harvest at Peak Ripeness
The pods are ready to harvest when they turn a deep, vibrant color—usually 8-10 weeks after planting. Gently twist or cut the pods from the stem with a small pair of scissors or your fingers. Avoid pulling too hard, as this can damage the plant.
Here’s the magic: these pods open themselves when fully ripe. Once harvested, place them in a cool, dry spot for 24 hours. They’ll split open naturally, revealing the seeds inside—no extra tools or effort needed. Store the seeds in a paper envelope in a dark, dry place for future planting.
🌿 Step 5: Clean Up and Prepare for Next Season
After harvesting, cut the plants back to 2 inches above the ground to encourage new growth. If you’re in a warm climate, you might get a second harvest. Otherwise, remove the plants entirely, compost them, and mark the spot for next year’s planting.
This method ensures zero waste—every part of the pod, from seed to harvest, is used efficiently. Plus, you’ll have fresh seeds ready for the next growing season without any extra work. It’s a closed-loop system that’s as satisfying as it is sustainable.
Tips & tricks for growing self-opening seed pods
Real talk: these pods are forgiving, but a few small details make all the difference between a decent harvest and a spectacular one.
Sunlight Strategy: The 6 hours of sunlight requirement is non-negotiable, but location matters more than you think. South-facing spots get consistent light, but if you're in a shaded yard, consider raised beds or containers near a sunny wall. I've seen pods in partial shade still produce, but they'll take 2-3 weeks longer to mature—so adjust your 8-10 week harvest timeline accordingly. A portable light on a timer can extend growing seasons in cooler climates by 30%.
Seed Planting Precision: That ½ inch deep planting depth might seem shallow, but going deeper risks rot while shallower planting can dry them out. Use a small stick or pencil to make consistent holes—this ensures uniform germination. Pro tip: I sprinkle a pinch of wood ash in each hole before planting. It's alkaline and helps prevent damping-off disease in those first critical weeks.
Watering Wisdom: The 1 inch per week guideline works for most climates, but here's what I've learned: water in the morning so foliage dries quickly (reduces fungal risks), and always check soil moisture with your finger. If the top inch feels damp but deeper soil is dry, you're golden. Overwatering is the #1 killer—roots need oxygen too. For container growers, use pots with drainage holes and water when the top inch feels dry to the touch.
Harvesting Hack: That 24-hour drying period after harvest is where the magic happens, but timing is everything. If pods open too soon, seeds may not be fully mature. Look for a slight give when you gently squeeze the pod—it should feel firm but yield slightly. Place them in a single layer on a mesh screen or paper towel in a dry, shaded spot. This prevents moisture buildup that could encourage mold.
Pro Tips for Seed To Harvest
- Real talk: these pods are forgiving, but a few small details make all the difference between a decent harvest and a s...
- Sunlight Strategy: The 6 hours of sunlight requirement is non-negotiable, but location matters more than you think. S...
- Seed Planting Precision: That ½ inch deep planting depth might seem shallow, but going deeper risks rot while shallow...
Frequently asked questions
Got questions about growing your own zero-waste pods from seed to harvest? Here are some of the most common ones—and their answers—to help you get started!
How long does it take for these pods to go from seed to harvest?
Most zero-waste pods take 8–12 weeks to mature, depending on the variety. Leafy greens like microgreens may be ready in as little as 2–3 weeks, while herbs and root vegetables typically need 6–8 weeks. Always check the seed packet for specific timelines!
Do I need special equipment to grow these pods?
Not at all! You’ll need basic tools like a container, soil, water, and sunlight. However, if you’re growing in small spaces, consider self-watering planters or hydroponic kits to simplify care. The pods themselves are designed to open naturally when mature—no extra tools required!
What’s the best time of year to plant these pods?
Timing depends on your climate! In most regions, spring and early fall are ideal for outdoor growing. If you’re indoors, you can plant year-round with proper lighting. For cooler climates, start seeds 6–8 weeks before the last frost to ensure a smooth harvest.
What should I do if pests or mold appear in my pods?
Keep an eye out for common issues like aphids or fungal growth. If pests appear, spray with neem oil or introduce beneficial insects like ladybugs. For mold, improve airflow by spacing plants apart or using a fan. Prevention is key—keep soil moist (not soggy) and avoid overcrowding!
Can I reuse the pods after harvest?
These pods are designed for sustainability. After harvesting, rinse and dry them, then store them in a cool, dry place. You can reuse them for 3–5 cycles before replacing them. Just avoid soaking them in harsh chemicals to extend their life.
Wrapping up and next steps
From seed to harvest, zero-waste pods are a game-changer for sustainable gardening! 🌱 These clever designs cut down on waste, save time, and even reward you with self-opening pods that make harvesting a breeze.
Whether you're a seasoned gardener or just starting out, this method proves that eco-friendly and effortless can go hand in hand.
Ready to take the next step? Start small—plant a few pods in your backyard, balcony, or windowsill. Watch as your garden thrives with minimal fuss, and soon, you’ll be sharing your zero-waste success with friends and neighbors. Happy growing! 🌿✨