
Lawn
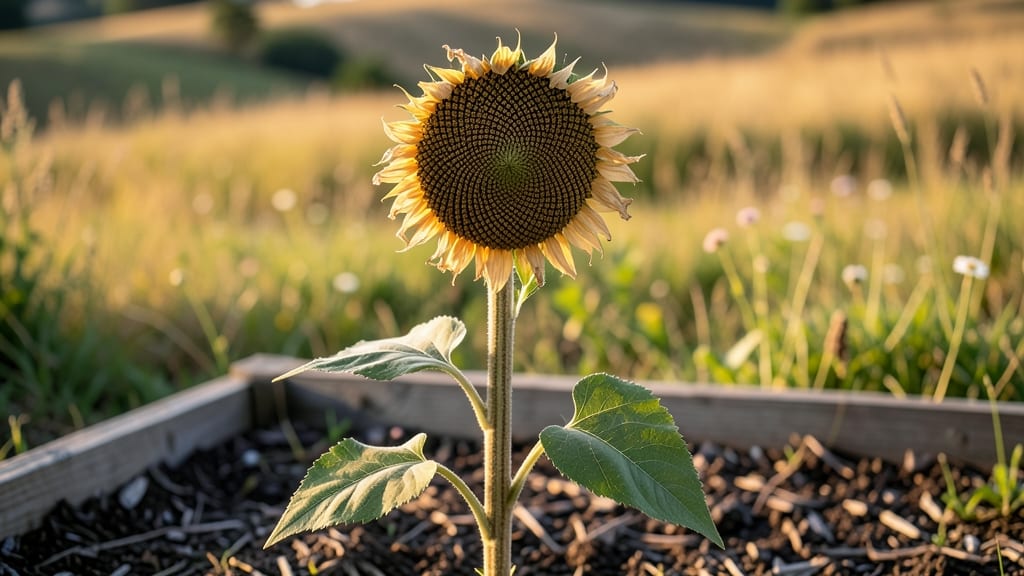
Harvesting sunflower seed heads for viable seeds means turning your garden's summer stars into next year's planting gold. 🌻 I've saved seeds from my sunflowers for years, and the process is simpler than most gardeners realize—no special equipment, just patience and timing.
The secret lies in letting the seed heads fully mature on the plant before cutting them down. You'll know they're ready when the back of the head turns brown and the seeds rattle when shaken.
A single plant can yield hundreds of seeds, enough to plant a whole new row or share with neighbors. Once harvested, dry the heads completely indoors for a week before rubbing the seeds into a bucket.
Store them in a cool, dry place wrapped in a paper bag, and you'll have fresh seeds ready to plant by spring. The payoff? Zero-waste gardening and free plants for years to come. This method works for all sunflower varieties, from towering giants to dwarf types.
Just avoid hybrids—their seeds won't grow true to type. Let's turn those dried blooms into next season's foundation!
📚 In This Guide
- What you need
- Instructions
- Tips and common mistakes
- Wrapping up and next steps
What you need
- ● Mature sunflower seed heads: Choose fully bloomed, dry heads (brown petals, crispy stems). Aim for at least 5-10 heads for a good yield.
- ● Large paper bags or cardboard boxes: 2–3 medium-sized containers (12"x18" or larger) to collect seeds.
- ● Newspaper or parchment paper: A sheet or two for drying/separating seeds.
- ● Fine-mesh sieve or colander: A ¼-inch mesh to sift out chaff and debris.
- ● Small bowls or jars: 3–4 containers to sort seeds by viability.
- ● Pruning shears or sharp scissors: To harvest seed heads cleanly.
- ○ Glove (optional): Protects hands from prickly stems and debris.
- ● Food-safe storage containers: Airtight jars or bags (1-quart size) for long-term seed storage.
- ● Labeling tags & marker: To note seed varieties and harvest dates.
- ○ Fan or hairdryer (optional): Speeds up drying time for impatient gardeners! ⏳
- ● 💡 Harvest on a dry, sunny day: Humidity slows drying and invites mold.
- ● 🌡️ Ideal seed moisture: Seeds should feel lightweight and crisp—not damp or rubbery.
- ● 🎯 Test viability: Float seeds in water—viable ones sink!
Step-by-Step guide to harvesting viable sunflower seeds
Here's how I turn sunflower seed heads into next year's garden starters—no waste, just pure potential.
🌿 Step 1: Wait for the Right Time to Harvest
Harvest when the seed head turns completely brown and the back of the flower petals dries out. You'll know it's ready when the seeds inside feel solid and plump, not hollow. If you harvest too early, seeds won't germinate. If you wait too long, they may scatter or attract pests.
Check daily during the last week of the plant's life. Give the head a gentle squeeze—if seeds rattle inside, they're ready. Morning harvests prevent birds from snatching them overnight. Use a sharp pair of pruning shears to cut the stem about 6 inches below the seed head for easy handling.
💧 Step 2: Dry and Clean the Seed Heads
Lay the harvested heads upside down on a clean, dry surface in a well-ventilated area. I use a mesh screen or a cardboard box with holes punched in the bottom. This prevents moisture buildup and allows seeds to dry evenly for 7-10 days. Keep them out of direct sunlight to avoid overheating.
Once fully dry, rub the seed head between your hands or use a clean cloth to remove the remaining chaff. You'll see the seeds fall out naturally. For stubborn seeds, gently tap the head over a bowl. If you notice any mold or discoloration, discard those seeds—they won't germinate.
☀️ Step 3: Separate and Store Seeds Properly
Spread the cleaned seeds on a clean towel or paper to remove any remaining debris. I like to use a fine-mesh strainer to catch any tiny seeds that might fall through. Store seeds in a paper envelope or glass jar—plastic traps moisture and encourages mold. Label each container with the sunflower variety and harvest date.
Keep seeds in a cool, dark place like a pantry or refrigerator. For long-term storage, you can place them in the freezer for up to 5 years. Check periodically for pests or moisture. If stored correctly, your seeds should retain 90% viability for at least 2-3 years.
🌱 Step 4: Test Seed Viability (Optional but Recommended)
Before planting, test a few seeds to ensure they're still viable. Place 10 seeds between two damp paper towels in a sealed plastic bag. Keep them in a warm spot (70-75°F) for 5-7 days. Check daily—if 70% or more sprout, your seeds are good to go.
If fewer than half sprout, consider mixing them with fresh seeds for better germination rates. Discard any seeds that show signs of rot or mold during this process. This simple test saves time and frustration when you're ready to plant.
⏰ Step 5: Plant Your Saved Seeds Next Season
When spring arrives, plant your saved seeds ½ inch deep in well-draining soil. Space them 6 inches apart in rows 2 feet apart for full sun exposure. Water gently after planting to settle the soil but avoid overwatering—sunflower seeds rot easily if too wet.
Watch for seedlings to emerge in 7-14 days. Thin them to the strongest plants, leaving 12-18 inches between each. You'll see the same vibrant blooms you harvested from, proving your zero-waste efforts paid off. Save seeds again for next year!
Tips & tricks for perfect sunflower seed harvesting
Here's what nobody tells you about turning those dried seed heads into next year's garden gold.
Harvest Timing Secret: The 7-10 days drying period in Step 2 is crucial—don't rush it! I've learned the hard way that damp seeds mold quickly, even in cool storage. Place a small fan nearby to gently circulate air without creating drafts. If your kitchen gets humid, extend drying to 12 days rather than risking mold. A quick test: tap two seeds together—if they make a hollow sound, they're ready.
Storage Wisdom: Forget plastic bags—moisture is the enemy of long-term seed viability. I store my seeds in glass jars with silica gel packets (the kind that come with electronics) to absorb any lingering dampness. For extra protection, place a small piece of chalk in the jar—it naturally absorbs moisture. Label every container with the harvest year and variety; trust me, you'll forget in a year!
Viability Test Hack: The 70-75°F test environment in Step 4 works best if you use a seedling heat mat set to 72°F—they're cheap and give consistent results. Place your damp paper towel setup directly on the mat. If you don't have one, a sunny windowsill (but not direct sun) works in a pinch. I've saved myself from planting bad seeds by catching viability issues early this way.
Planting Precision: Those 6 inches apart measurements in Step 5 might seem generous, but sunflowers need room to grow. If you're short on space, you can reduce to 4 inches between plants, but be prepared to thin seedlings more aggressively. For giant varieties, stick to the 12-18 inches spacing—they'll reward you with those towering blooms you love.
Pro Tips for Sunflower Seed Head
- Here's what nobody tells you about turning those dried seed heads into next year's garden gold.
- Harvest Timing Secret: The 7-10 days drying period in Step 2 is crucial—don't rush it! I've learned the hard way that...
- Storage Wisdom: Forget plastic bags—moisture is the enemy of long-term seed viability. I store my seeds in glass jars...
Frequently asked questions
about harvesting sunflower seed heads—because even the pros need a little guidance! Here are answers to the most common queries to help you master zero-waste seed collection like a pro.When is the best time to harvest sunflower seed heads?
The ideal time is when the back of the seed head turns yellow or brown, and the petals have fully dried and fallen off. This usually happens 8–12 weeks after flowering. Harvesting too early means seeds won’t be fully mature, while waiting too long risks them falling to the ground or attracting pests.
How do I know if the seeds are ready for storage?
Ready seeds should be plump, firm, and difficult to crush between your fingers. If they’re hollow-sounding or easily broken, they’re not fully mature. For extra assurance, check the moisture content—seeds should feel dry to the touch and not leave a damp residue when rubbed.
Can I save seeds from store-bought sunflowers?
Yes, but with a caveat! Store-bought sunflowers are often hybrids, meaning their seeds may not grow true to type (i.e., they might not produce identical plants). For reliable seeds, opt for heirloom or open-pollinated varieties from seed savers or local nurseries.
Why are my harvested seeds getting moldy or attracting bugs?
Mold or pests usually mean your seeds weren’t fully dry before storage. To prevent this, thresh seeds thoroughly (remove all chaff), let them dry in a well-ventilated, dark place for 1–2 weeks, and store them in airtight containers (like glass jars) in a cool, dry spot.
How long can I store sunflower seeds before planting?
Properly dried and stored seeds can last 3–5 years in ideal conditions (below 40°F/4°C and <40% humidity). For best germination rates, use seeds within 1–2 years. Test viability by floating seeds in water—sinkers are viable, while floaters are likely dead.
What’s the quickest way to remove seeds from a sunflower head?
For speed, place the dried head in a paper bag and shake or roll it on a hard surface. The seeds will fall out while the chaff stays trapped. Alternatively, use a seed thresher or even a fork to gently scrape seeds off—just avoid damaging them!
Wrapping up and next steps
Harvesting sunflower seed heads isn’t just eco-friendly—it’s a rewarding way to turn your garden into a zero-waste treasure trove! 🌻 With the right timing, tools, and techniques, you can save seeds for planting, bird feeders, or even culinary adventures.
Whether you’re a seasoned gardener or just starting, every seed you rescue is a step toward sustainability.
Ready to put your new skills to the test? Start by picking a few sunflower seed heads this season and experiment with drying, storing, or sharing them. Who knows? You might just inspire others to join the zero-waste movement—one seed at a time!