
Propagation
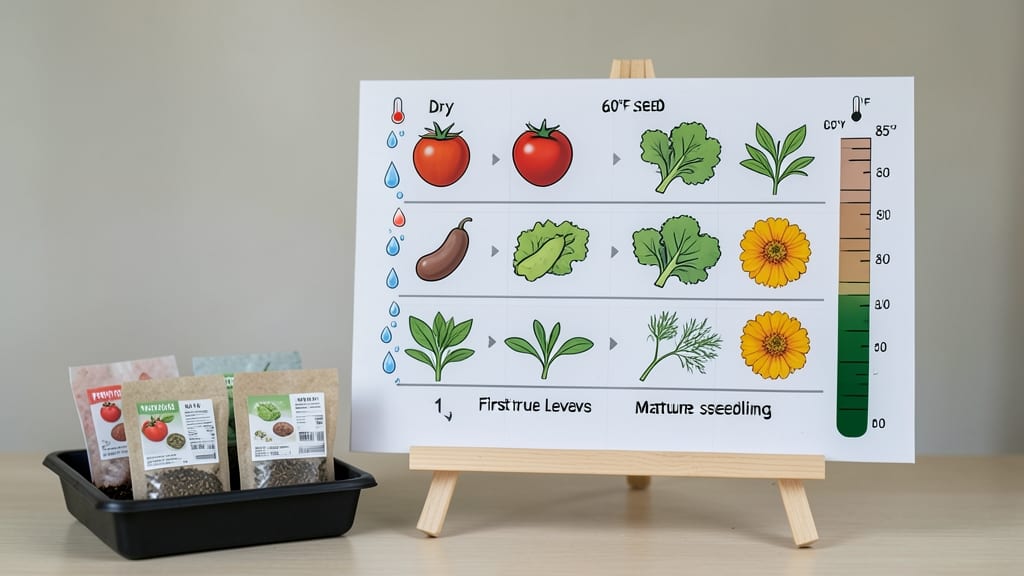
A seed germination chart is your secret weapon for turning seeds into thriving plants—no more guessing when to plant or how to care for them. 🌱 I’ve used mine for years to avoid the frustration of waiting too long or giving up too soon, especially with finicky seeds like parsley that take weeks to sprout.
This chart reveals everything you need: ideal temperatures (some seeds need warmth, others prefer cool soil), days to germination (fast like radishes or slow like okra), and light needs (some sprout in darkness, others need sunlight immediately).
The key is matching your setup to what the chart promises—my basil now sprouts reliably in 7-10 days because I keep the soil at 70°F and maintain steady moisture.
When germination stalls, the chart helps you troubleshoot: too cold? Too dry? Too dark? I once thought my tomato seeds were dead until I realized they needed 80°F soil**—a simple fix that saved my spring planting.
By following the chart, you’ll know exactly when to expect (and celebrate) those first green shoots.
Perfect for beginners who’ve lost patience with slow starters or seasoned gardeners tweaking their seed-starting routine. Here’s how to use it like a pro—no more wasted seeds or missed opportunities.
📚 In This Guide
- What you need
- Instructions
- Tips and common mistakes
- Wrapping up and next steps
What you need
- ● Seeds: A variety of seeds (e.g., beans, tomatoes, marigolds, basil) – at least 5-10 seeds per type for accurate testing.
- ● Germination trays or containers: Small pots, egg cartons, or seedling trays (with drainage holes).
- ● Potting mix: Lightweight, sterile seed-starting mix (avoid garden soil—it’s too dense!).
- ● Spray bottle: For gentle watering (avoid over-saturating seeds!).
- ● Ruler or measuring tape: To track seedling growth in centimeters/inches.
- ● Notebook or spreadsheet: To record data (days to germination, height, observations).
- ● Label markers: Waterproof labels to identify seed types.
- ○ Clear plastic wrap or dome: To retain humidity (optional but helpful for slower germinators).
- ● Heat mat: For warm-season seeds (e.g., peppers, tomatoes) that need bottom heat.
- ● Grow lights or sunny windowsill: Ensure consistent light exposure (12-16 hours/day).
- ● Hygrometer: To monitor humidity levels (ideal: 40-70%).
- ● Timer: For automated watering or light cycles.
- ● Camera or smartphone: To document progress (great for visual charts!).
How to use a seed germination chart for faster sprouting
Here's the quick system I use to match seeds with perfect conditions—no guesswork, just results.
🌱 Step 1: Group Seeds by Germination Type
Start by sorting seeds into three broad categories based on their germination needs: fast germinators (like lettuce or radishes), moderate germinators (tomatoes, peppers), and slow germinators (carrots, parsley). I keep a small notepad nearby to jot down each seed's category as I go—the difference between a 3-day sprout and a 3-week wait comes down to this first step.
Check your seed packets for specific details, but when in doubt, default to room temperature (65-75°F) and moisture as your baseline. Fast germinators often need warmth (75-85°F), while slow ones tolerate cooler temps (60-70°F). This simple grouping prevents overwatering fast seeds or giving up too soon on slow ones.
⏰ Step 2: Match Conditions to Your Seed's Timeline
Now, align each seed type with its ideal germination window using your chart. For example, radish seeds typically sprout in 3-7 days under warm, moist conditions, while carrot seeds can take 14-30 days—sometimes longer. I mark my chart with highlighters: yellow for fast, green for moderate, and blue for slow so I can glance and know exactly what to expect.
Here's the thing—light isn't needed for germination (that comes later). Focus on consistent moisture and temperature stability. Use a seedling heat mat for warm-loving seeds, but avoid placing them in direct sunlight yet. The goal is to create a predictable environment where seeds can focus all their energy on breaking through the shell.
💧 Step 3: Adjust Moisture and Temperature Precisely
Most seeds need soil that feels damp like a wrung-out sponge—not soggy, not dry. I test moisture by squeezing a handful: if water drips out, it's too wet; if it crumbles, add more. For fast germinators, keep the soil surface evenly moist by misting lightly every 1-2 days. Slow germinators can go 2-3 days between waterings once they've sprouted.
Temperature is just as critical. Place warm-loving seeds (like peppers or beans) on a heat mat set to 75-85°F. Cool-loving seeds (like lettuce or spinach) thrive at 60-70°F. I use a small digital thermometer tucked into the soil to monitor—fluctuations of more than 5°F slow germination. If your home runs cooler, group warm-loving seeds together on a single heat mat to maximize efficiency.
☀️ Step 4: Monitor for Sprout Signals
Watch for the first sign of life: a tiny white root pushing through the seed coat, or the radicle, appears first. For most seeds, this happens within 24-48 hours of ideal conditions. Once you see 50% of seeds in a tray sprouting, remove any covers or domes immediately—condensation encourages mold. I set a timer for 7-10 days for fast seeds, but slow ones might need 3-4 weeks of patience.
Here's where the chart pays off: if nothing emerges after double the longest expected time (e.g., 60 days for carrots), it's time to troubleshoot. I gently dig down to check for seeds—sometimes they're still intact, waiting for the right push. If they're mushy, they've rotted; if they're dry, they need more moisture or warmth. Adjust and try again.
✂️ Step 5: Transition to Light and Care
Once all seeds have sprouted and show their first true leaves (not the initial seed leaves), it's time to introduce 12-16 hours of light daily. Fast germinators like radishes bolt quickly without enough light, so I move them under grow lights within 24 hours. Slow germinators can wait a few days longer, but don't delay past the second set of true leaves—that's when they start needing photosynthesis.
Thin seedlings if overcrowded (using the chart's spacing guidelines), and water from the bottom to avoid disturbing tender roots. The chart doesn't just tell you when to expect sprouts—it also hints at how quickly they'll need repotting or transplanting. For example, fast germinators like lettuce may be ready for the garden in 3-4 weeks, while tomatoes need 6-8 weeks to harden off properly.
Tips & tricks for perfect seed germination timelines
These quick strategies will help you turn your germination chart into foolproof results every time.
Visual Cues for Germination Progress: In Step 4, when checking for sprouts, look for the radicle—a tiny white root that appears first. For fast germinators like radishes, this happens within 24-48 hours of planting, while slow ones like carrots may take up to 60 days. I use a magnifying glass to spot these early signs, especially with tiny seeds like lettuce, where the radicle is barely visible to the naked eye.
Temperature Stability is Non-Negotiable: Fluctuations of more than 5°F in Step 3 can stall germination completely. I place my seed trays on a heat mat set to 75-85°F for warm-loving seeds and use a digital thermometer to monitor. If your home runs cooler, group all warm-loving seeds together on a single heat mat—this creates a microclimate that maintains consistent warmth without overworking your equipment.
Light Timing Matters: Once you reach Step 5, remember that light exposure changes after sprouting. Fast germinators like radishes need 12-16 hours of light daily within 24 hours of sprouting to prevent bolting, while slow germinators can wait until their second set of true leaves appears. I set a reminder in my phone for the exact day each seed type needs light to avoid delays that could stunt growth.
Troubleshooting Dry Soil: If seeds aren't sprouting after double the expected time (like 60 days for carrots), gently dig down to check moisture. Dry seeds appear shriveled, while mushy ones indicate rot. For stubborn cases, I add a thin layer of warm water to the surface and cover with plastic wrap for 24 hours—this creates a humid microclimate that often triggers dormant seeds.
Pro Tips for Seed Germination Chart
- These quick strategies will help you turn your germination chart into foolproof results every time.
- Visual Cues for Germination Progress: In Step 4, when checking for sprouts, look for the radicle—a tiny white root th...
- Temperature Stability is Non-Negotiable: Fluctuations of more than 5°F in Step 3 can stall germination completely. I ...
Frequently asked questions
Got questions about seed germination?
You’re not alone! Here are answers to the most common queries to help you grow with confidence.
How long does it take for seeds to germinate?
Germination times vary by seed type—check your seed germination chart for specifics! Fast germinators like radishes sprout in 3–7 days, while slower ones (e.g., okra, peppers) may take 10–30 days. Keep soil moist and warm for best results.
What if my seeds aren’t sprouting after the expected time?
Don’t panic! First, check moisture (soil should stay damp, not soggy). If seeds are old (over 1 year), viability drops—test a few in a damp paper towel for signs of life. If still no luck, try scarifying (lightly nicking the seed coat) or soaking overnight.
Do all seeds need heat to germinate?
Nope! While warmth (70–90°F) speeds up most seeds, some (like lettuce or spinach) prefer cooler temps (60–70°F). Peppers, tomatoes, and beans thrive with bottom heat—use a heat mat if your home runs chilly. Always match conditions to your seed’s needs!
Can I reuse leftover seeds from a germination test?
If seeds sprout in a damp paper towel, plant them immediately in soil to avoid drying out. For failed tests, store viable seeds in a cool, dry place (like a sealed container in the fridge) for up to a year—just label them with the date!
What’s the best way to speed up germination for stubborn seeds?
Try these tricks:
- Soak overnight (great for large seeds like beans or peas).
- Use a germination station (clear container with a lid to trap humidity).
- Pre-sprout in a damp paper towel, then transplant.
- Adjust pH—most seeds prefer 6.0–7.0 (test your soil!).
Wrapping up and next steps
Tracking seed germination with a seed germination chart isn’t just about patience—it’s about unlocking the potential of your garden! Whether you’re a beginner or a seasoned gardener, knowing the ideal conditions for each seed type empowers you to grow stronger, healthier plants. 🌱
Now that you’re armed with the right knowledge, take the next step: grab your seeds, set up your germination station, and start monitoring progress. Every sprouted seed is a tiny victory—so get growing and watch your green thumb flourish! 🌿