
Planting
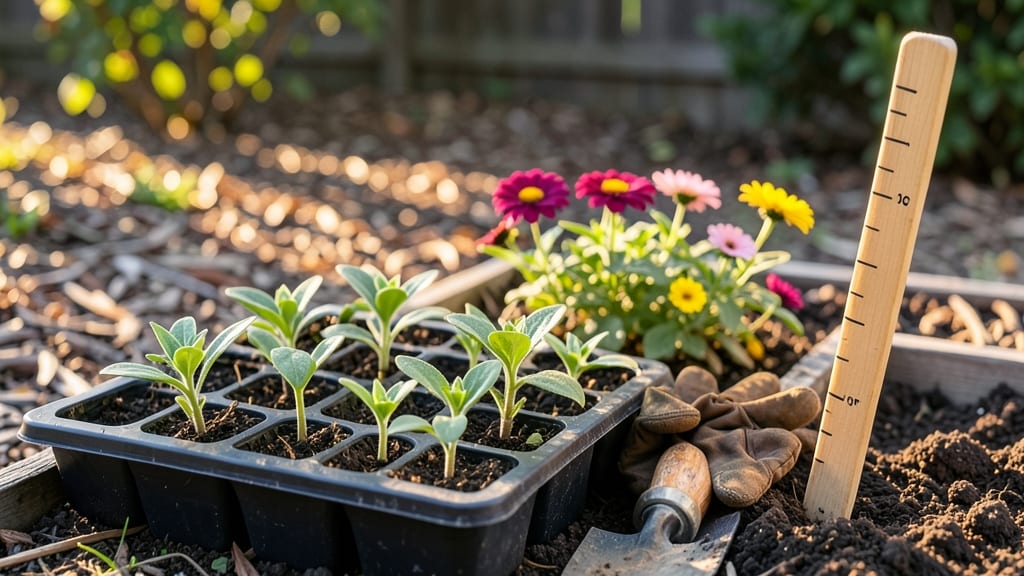
Perfect zinnia seed spacing turns scraggly stems into bushy, bloom-covered plants that last all summer. 🌻 I learned the hard way—crowding seeds leads to leggy, weak stems and fewer flowers, while spacing too wide wastes space.
The ideal distance depends on your zinnia variety, but for most garden zinnias, 12–18 inches apart in rows 18–24 inches apart is the sweet spot.
Soil type plays a role too: heavy clay soil needs wider spacing (closer to 18 inches) to prevent overcrowding, while well-draining loam lets you plant slightly tighter (12 inches).
If your zinnias get at least 6–8 hours of full sun daily, they’ll reward you with bold blooms instead of stretching for light. And here’s a pro tip—plant in rows rather than clusters for easier thinning and better airflow. Thinning is where most gardeners trip up.
Once seedlings have 2–3 true leaves, snip the weakest ones at the base, leaving only the strongest plant every 12–18 inches. This might feel cruel, but it’s what transforms your garden from "meh" to "wow" by midseason. The payoff? Stems thick enough to support those heavy blooms without flopping.
For experienced gardeners, experiment with succession planting every 2 weeks for nonstop color. And if you’re short on space, try interplanting zinnias with shallow-rooted companions like marigolds or nasturtiums—they won’t compete for nutrients but add extra pollinator power. Ready to grow zinnias that steal the show?
📚 In This Guide
- What you need
- Instructions
- Tips and common mistakes
- Wrapping up and next steps
What you need
- ● Zinnia seeds: Choose a variety (e.g., Benary’s Giant, Profusion, or Crystal). Buy enough for your desired spacing—typically 100–200 seeds per 100 sq. ft. (adjust based on your plot size).
- ● Garden soil or potting mix: Well-draining, nutrient-rich soil (amend with compost if needed). For containers, use a lightweight mix with perlite or vermiculite.
- ● Planting containers or garden bed: For direct sowing in beds: A sunny spot (6+ hours of sunlight) with loose, fertile soil.
- ● For containers: Pots at least 6–12 inches deep with drainage holes (group 3–5 seeds per container).
- ● Watering can or hose with a gentle spray nozzle: Avoid disturbing seeds during watering.
- ● Planting marker or labels: Small stakes or biodegradable labels to track varieties and spacing.
- ○ Gloves (optional but recommended): Protect your hands from soil and thorns (some zinnias have them!).
- ● Seed starting tray or biodegradable pots: If you prefer to pre-sprout seeds indoors (4–6 weeks before last frost).
- ● Mulch (straw or shredded leaves): Helps retain moisture and suppress weeds—especially useful for close-spaced varieties like Profusion.
- ● Fertilizer (balanced 10-10-10 or compost tea): Apply lightly after germination to boost growth.
- ● Row cover or shade cloth: Protects young seedlings from pests or harsh sun if needed.
- ● Pruning shears: For later trimming to encourage bushier blooms!
Step-by-Step guide to perfect zinnia seed spacing for lush growth
Here's how to space zinnia seeds for maximum blooms without overcrowding—my foolproof method.
🌱 Step 1: Prepare the Soil and Planting Surface
Zinnia seeds thrive in well-draining soil with a pH between 6.0 and 7.0. Work the top 6 inches of soil to loosen it, removing any rocks or debris that could impede root growth. I like to mix in a 1-inch layer of compost to enrich the soil naturally—this ensures nutrients are available as your zinnias grow.
For container planting, fill pots with premium potting mix (never garden soil, which compacts and suffocates roots). Press the mix down lightly to create a firm but not compacted surface. The goal is a fine, crumbly texture that lets roots penetrate easily. If working in garden beds, rake the soil smooth after amending—this prevents uneven seed depth when planting.
🌱 Step 2: Sow Seeds at the Correct Depth and Spacing
Zinnia seeds are tiny, so I use a toothpick or fine tweezers to place them ¼ inch deep in the soil. Spacing depends on your variety: dwarf zinnias need 4-6 inches apart, while tall varieties should have 8-12 inches between plants. I mark rows with a wooden stake or string line to maintain even spacing—crowding leads to weak stems and fewer blooms.
After planting, cover seeds lightly with soil using a fine-mesh strainer or your fingers. Press gently to ensure good seed-to-soil contact. Water immediately with a spray bottle to settle the soil without displacing seeds. The soil should feel moist but not soggy—like a damp sponge. Overwatering now can cause seeds to rot before they sprout.
☀️ Step 3: Thin Seedlings for Optimal Airflow and Growth
Once seedlings reach 2 inches tall (about 7-10 days after sowing), it’s time to thin. Use a small hand trowel or scissors to snip unwanted seedlings at soil level—never pull them, as this disturbs roots of remaining plants. Keep only the strongest, most upright seedling in each spot. Proper thinning prevents competition for nutrients and reduces disease risk from crowded, humid foliage.
Watch for first true leaves (the second set after the initial cotyledons) to appear. These leaves indicate the plant’s true growth phase. After thinning, water deeply to help roots establish. Space remaining seedlings according to their mature size: 6-8 inches apart for compact varieties, 10-12 inches for standard types. This spacing ensures each plant gets enough sunlight and air circulation.
🌿 Step 4: Monitor and Adjust for Bushy Growth
As zinnias mature, their stems may spread or lean. If you notice leggy growth (long, weak stems with sparse leaves), they need more sunlight. Move containers to a sunnier spot or provide supplemental grow lights for 12-14 hours daily. Zinnias need full sun (6+ hours) to produce abundant blooms—without it, stems grow tall but produce few flowers.
After 4-6 weeks, when plants are 4-6 inches tall, give them a light fertilizer (5-10-10 ratio) to encourage bushier growth. I use a balanced, water-soluble fertilizer diluted to half-strength. Apply it in the early morning so leaves dry quickly, reducing the risk of fungal diseases. Avoid over-fertilizing—zinnias are heavy feeders but don’t need excessive nutrients.
Tips & tricks for perfect zinnia spacing
These small adjustments make all the difference between sparse blooms and a garden bursting with color.
Soil Prep Secret: The 6-inch deep soil loosening in Step 1 isn't just about roots—it's about creating an oxygen-rich environment. I take it one step further by adding a 1-inch layer of compost mixed into the top 3 inches. This ensures nutrients are concentrated where roots will first establish, giving your zinnias a strong start. For containers, I press the premium potting mix until it holds its shape when squeezed gently—this prevents compaction that can suffocate young roots.
Precision Planting Tools: Those ¼-inch deep seed placements in Step 2 are critical, but here's what I do differently: I use a toothpick with a rubber band marker to ensure consistent depth. For spacing, I draw a grid on a plastic sheet with 4-inch squares for dwarfs and 10-inch squares for tall varieties, then lay it over the soil. This visual guide prevents misalignment that leads to uneven growth.
Thinning Timing: The 7-10 day window in Step 3 is your best chance to catch seedlings before they become root-bound. I look for the first true leaves (not the initial cotyledons) as my signal—these indicate the plant's true growth phase. Pro tip: Thin on a cloudy day or late afternoon when temperatures are cooler. This reduces stress on the remaining plants and gives them time to recover overnight.
Sunlight Strategy: When Step 4 mentions 12-14 hours of supplemental light, I recommend using full-spectrum LED grow lights positioned 6-8 inches above plants. These mimic natural sunlight more effectively than standard bulbs. For leggy growth, I also rotate containers daily to ensure even light exposure—this prevents stems from bending toward one light source and creates bushier plants overall.
Pro Tips for Zinnia Seed Spacing
- These small adjustments make all the difference between sparse blooms and a garden bursting with color.
- Soil Prep Secret: The 6-inch deep soil loosening in Step 1 isn't just about roots—it's about creating an oxygen-rich ...
- Precision Planting Tools: Those ¼-inch deep seed placements in Step 2 are critical, but here's what I do differently:...
Frequently asked questions
Got questions about spacing zinnia seeds like a pro? Here are some of the most common ones—and their expert answers!
What’s the ideal distance to plant zinnia seeds for the best blooms?
For Zinnia elegans (the classic garden zinnia), space seeds 12–18 inches apart in rows 12–18 inches apart. If you’re growing dwarf varieties (like ‘Thumbelina’), cut spacing to 6–10 inches for a dense, pollinator-friendly display. Thinning seedlings to the correct distance prevents overcrowding and ensures stronger stems!
When is the best time to thin zinnia seedlings?
Thin seedlings 2–3 weeks after germination, once they’ve developed 2–3 true leaves. Use sharp scissors or your fingers to snip at soil level—avoid pulling to prevent disturbing roots. Early thinning gives remaining plants room to grow bushier and healthier. Pro tip: Harvest the thinned seedlings for microgreens or share with fellow gardeners!
Can I plant zinnia seeds too close together?
Yes, but it’ll backfire! Overcrowded zinnias compete for light, water, and nutrients, leading to weak stems, fewer blooms, and pest problems (like aphids). If you’ve already planted too close, thin aggressively or transplant seedlings to a new spot. Alternative fix: Try succession planting—sow seeds in batches every 2 weeks for continuous blooms without overcrowding.
Does zinnia seed spacing change for container growing?
In containers, space seeds 4–6 inches apart for dwarf varieties or 6–8 inches for taller types. Use 5-gallon pots or larger for single plants, or opt for window-box spacing of 3–4 inches for trailing varieties. Ensure pots have drainage holes to prevent root rot—zinnias hate soggy feet!
What if my zinnias get leggy or floppy despite proper spacing?
Leggy zinnias often signal too little light or overcrowding. Move plants to a sunnier spot (6+ hours of direct sun daily) and thin if needed. For extra support, stake tall varieties or pinch back leggy stems to encourage bushier growth. Bonus tip: Deadhead spent blooms to redirect energy to new flowers and prevent flopping!
Can I mix zinnias with other flowers in the same row?
Yes! Zinnias pair well with marigolds, sunflowers, or cosmos in mixed borders. Just adjust spacing: keep zinnias 12–18 inches apart and reduce spacing for shorter companions (e.g., 6 inches for marigolds). Avoid planting with aggressive spreaders like mint, which can choke zinnias. Design hack: Use zinnias as a “filler” in the middle of your flower bed for a lush, layered look!
Wrapping up and next steps
Mastering zinnia seed spacing is your ticket to vibrant, bushy blooms that steal the show in your garden! 🌸 Whether you’re planting in rows, clusters, or containers, the right distance ensures strong stems, abundant flowers, and minimal competition.
With these proven tips, you’re well on your way to a show-stopping display—so grab those seeds and get growing!
Ready to take the next step? Experiment with spacing in a small patch first, or try companion planting with marigolds to boost your zinnias’ resilience. Happy gardening!